Kippers - Ever fancied having a go yourself?? - Part 1
If you like this post please visit Facebook and like our page - We also have a youtube channel Thanks.
Kippers have come in and out of favour more times than flares and platforms but these days trying to purchase anything other than a vacuum packed dyed abomination can be a little difficult. It's true, there are lots of supermarkets out there with impressive wet fish counters but when it comes to kippers, there's nothing like a home smoked one to really set things alight.
The big question for many would be how the heck do I brine and smoke my own herrings to make a wonderfully home smoked kipper?
 |
| Herrings each about 400g |

With your herrings in hand it's back to your kitchen to prepare the herrings for their fate. The first thing to do is to flatten them out and clean out the internal organs so they begin to look like the real thing. When making kippers this is usually done by making a longitudinal cut along the length of the herrings back, from tail to the head passing down to one side of the herring's dorsal fin. This cut is important as you will bring the knife down through the flesh to the rib bones and into the belly cavity. Great care must be taken not to continue down with the knife and cut the belly of the herring which should be left intact to preserve the finished look of the kipper. This first cut along the back of the fish and into the gut cavity should continue along the back into the head of the herring dividing the head allowing the fish to be split so it can lay flat. The head can be quite difficult to cut into so a little pressure is needed here. Don't be to keen as its possible to go straight through the head. When the knife reaches what is the lower jaw of the herring stop cutting.
 |
| Back cut, gust and gills removed ready for the brine |
With the herring flattened out the guts can be removed as well as the gills. Give the fish a rinse under cold running water and place on a plate in the fridge while you prepare the brine.
Herrings need to be lightly cured before they are smoked. the salt used in the brine has a number of effects. firstly and most obviously it reduces the moisture in the fish which firms up the flesh improving the texture. secondly the salt acts as a preservative preventing the fish from spoiling. salt does not make a good environment for bacteria to grow and coupled with the reduction in moisture your fish will remain safe while it is being smoked. A less obvious consequence of having less moisture will be to improve the ratio of oils in the fish. This is what gives kippers their traditional oily glazed look. Last but not least by any means is the improvement in flavour. Salt is after all a flavour enhancer and by reducing the moisture in the fish you are also intensifying the flavours too. All in all there's a lot going on behind the scenes during brining all of which is working to improve texture, look and flavour.

The brine is made up of water and salt. It is possible to add other flavours and sweeteners to the brine but I like the traditional salt brine. Perhaps this is an area you can work on when you perfect the process and want to make it your own.
I use what is known as an eighty percent brine which is made up using one litre of cold water and 267 grams of salt. The eighty percent reference is a ratio based on the maximum amount of salt that can be dissolved into a given quantity of water and remain in solution. When you consider sea water to be about four percent brine strength you can begin to see how strong an eighty percent brine is.

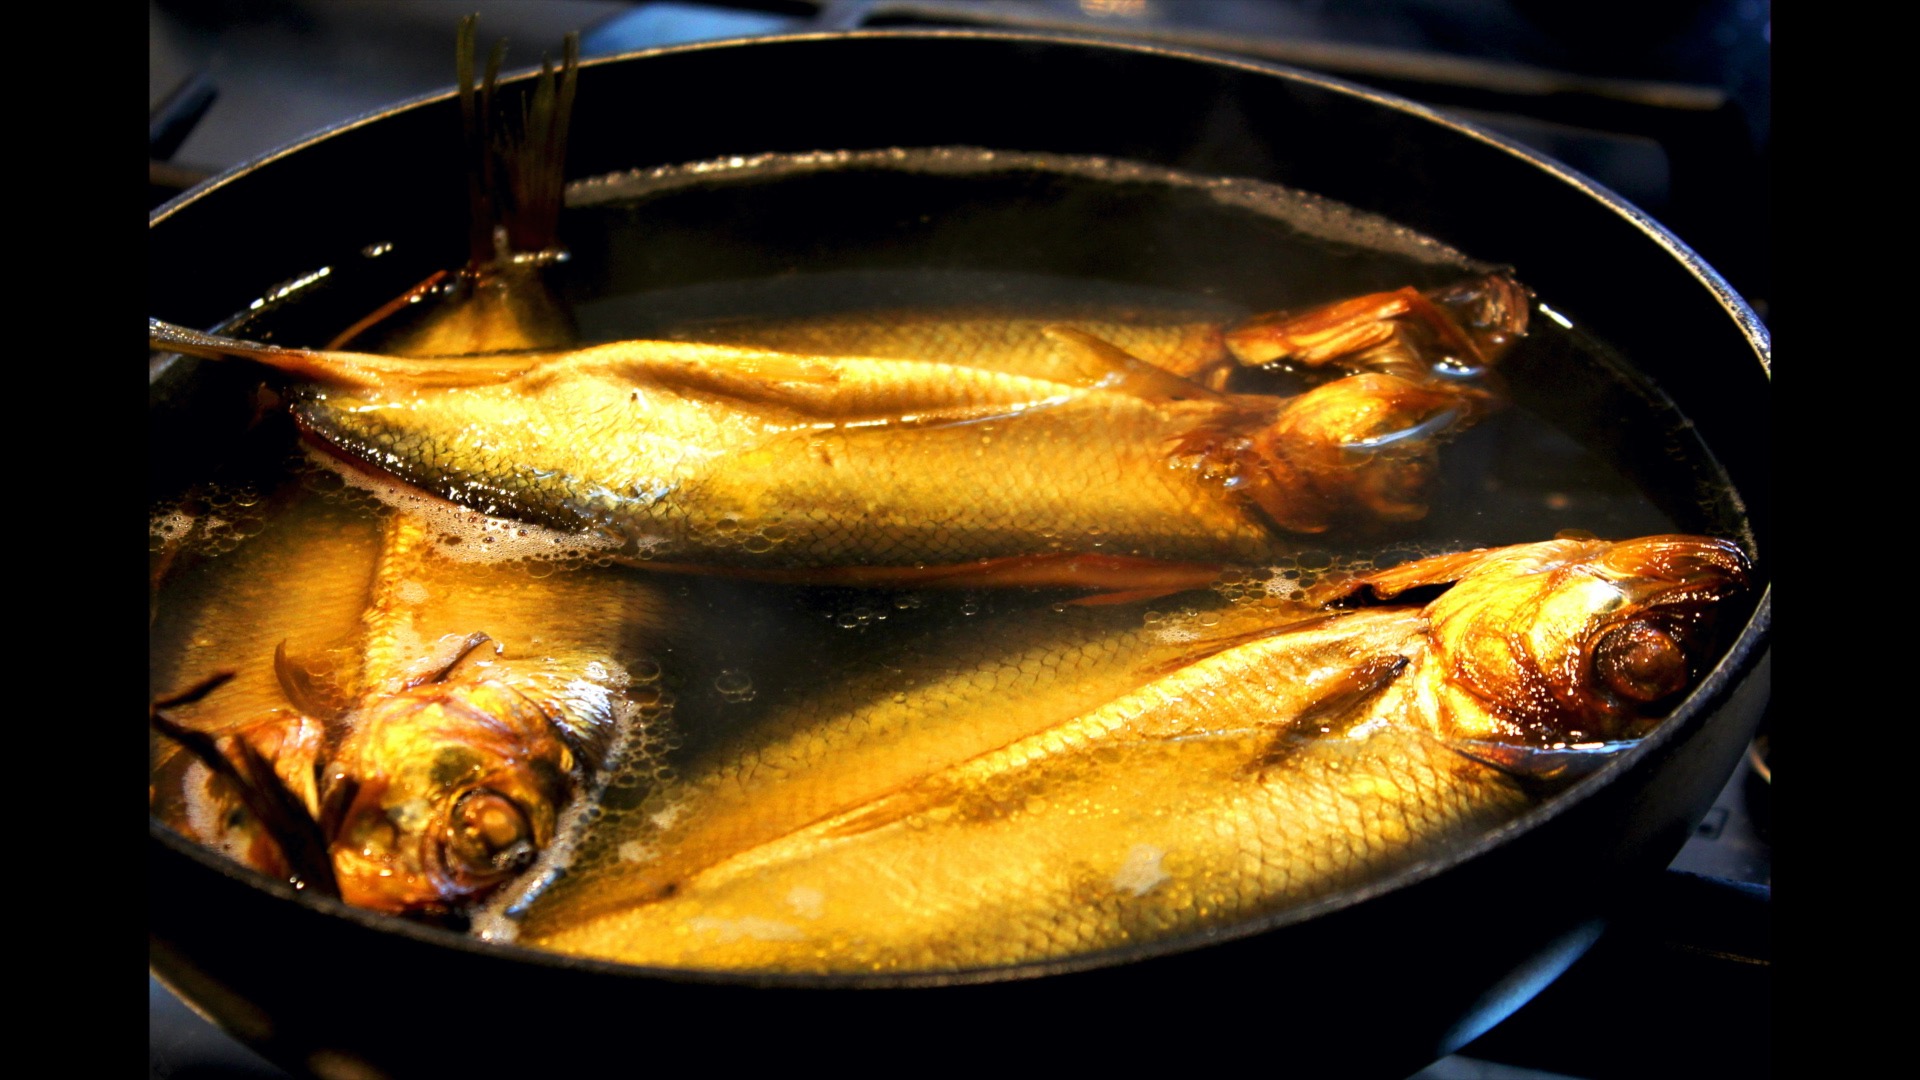
Once the brine is made and cooled in the fridge the herrings can be submerged into the brine and placed back into the fridge for between fifteen to twenty minutes. Take the herrings out of the brine and rinse in cold water to remove any excess brine. The fish should be patted dry with kitchen towel, placed onto an uncovered plate and returned to the fridge for a short while to dry. A couple of hours should do. While the herrings are drying the salt in the flesh will begin to equalise throughout the flesh to give an even cure.

After a couple of hours in the fridge drying, the herrings are ready to be turned into kippers through the addition of smoke. Kippers are traditionally cold smoked for up to twenty four hours. The length of smoking is largely dependent on your taste. I find that eight to twelve hours is sufficient to produce an excellent kipper. Cold smoking is not cooking and therefore the finished kipper will require cooking before one can eat it. OK to the smoker we go and in part 2 we will look at how to hang the herrings in the smoker, the smoking process and the finished product.
If you'd like to learn how to cold smoke food why not visit our youtube channel where there are loads of resources to help you develop your food smoking skills.
If you'd like to learn how to cold smoke food why not visit our youtube channel where there are loads of resources to help you develop your food smoking skills.


Comments
Post a Comment